
This is a story about firewood, or what would have been firewood. A few years ago we had delivered a load of split oak firewood, the source being an old wildfire burn which had killed hundreds of oak trees. As we unloaded the truck I noticed many pieces had come from sizable logs. I asked the guy about it and he said yes, some up to 18″-20″ diameter. I asked if he’d bring 2-3 logs, and after a few days he brought 3 logs from 15″-18″ diameter and 5′-6′ long. These trees had been standing dead for a few years, no bark, slowly rotting. Upon getting them milled I found one log in particular was heavily spalted. Spalting is when part or all of a tree has died and fungi are forming and growing in the dead wood. Some of the softer wood can even become spongy. It can create a variety of colors, lines and patterns.
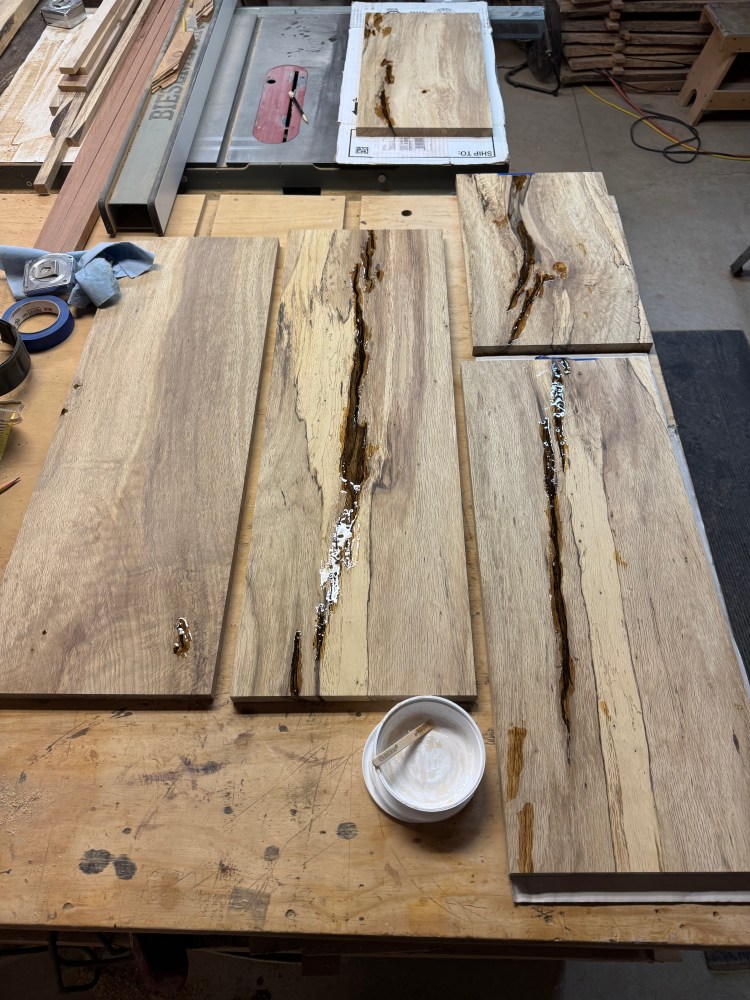
There can be voids in the wood from the decaying process. Sometimes ants or termites can add to that process. There were indeed voids, a spongy knot, missing grain. Those were filled with epoxy to both stop further decay and strengthen the wood.
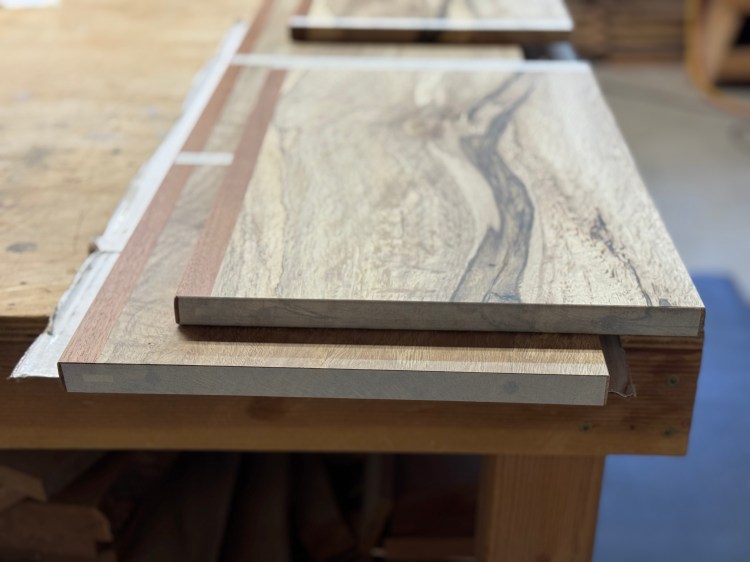
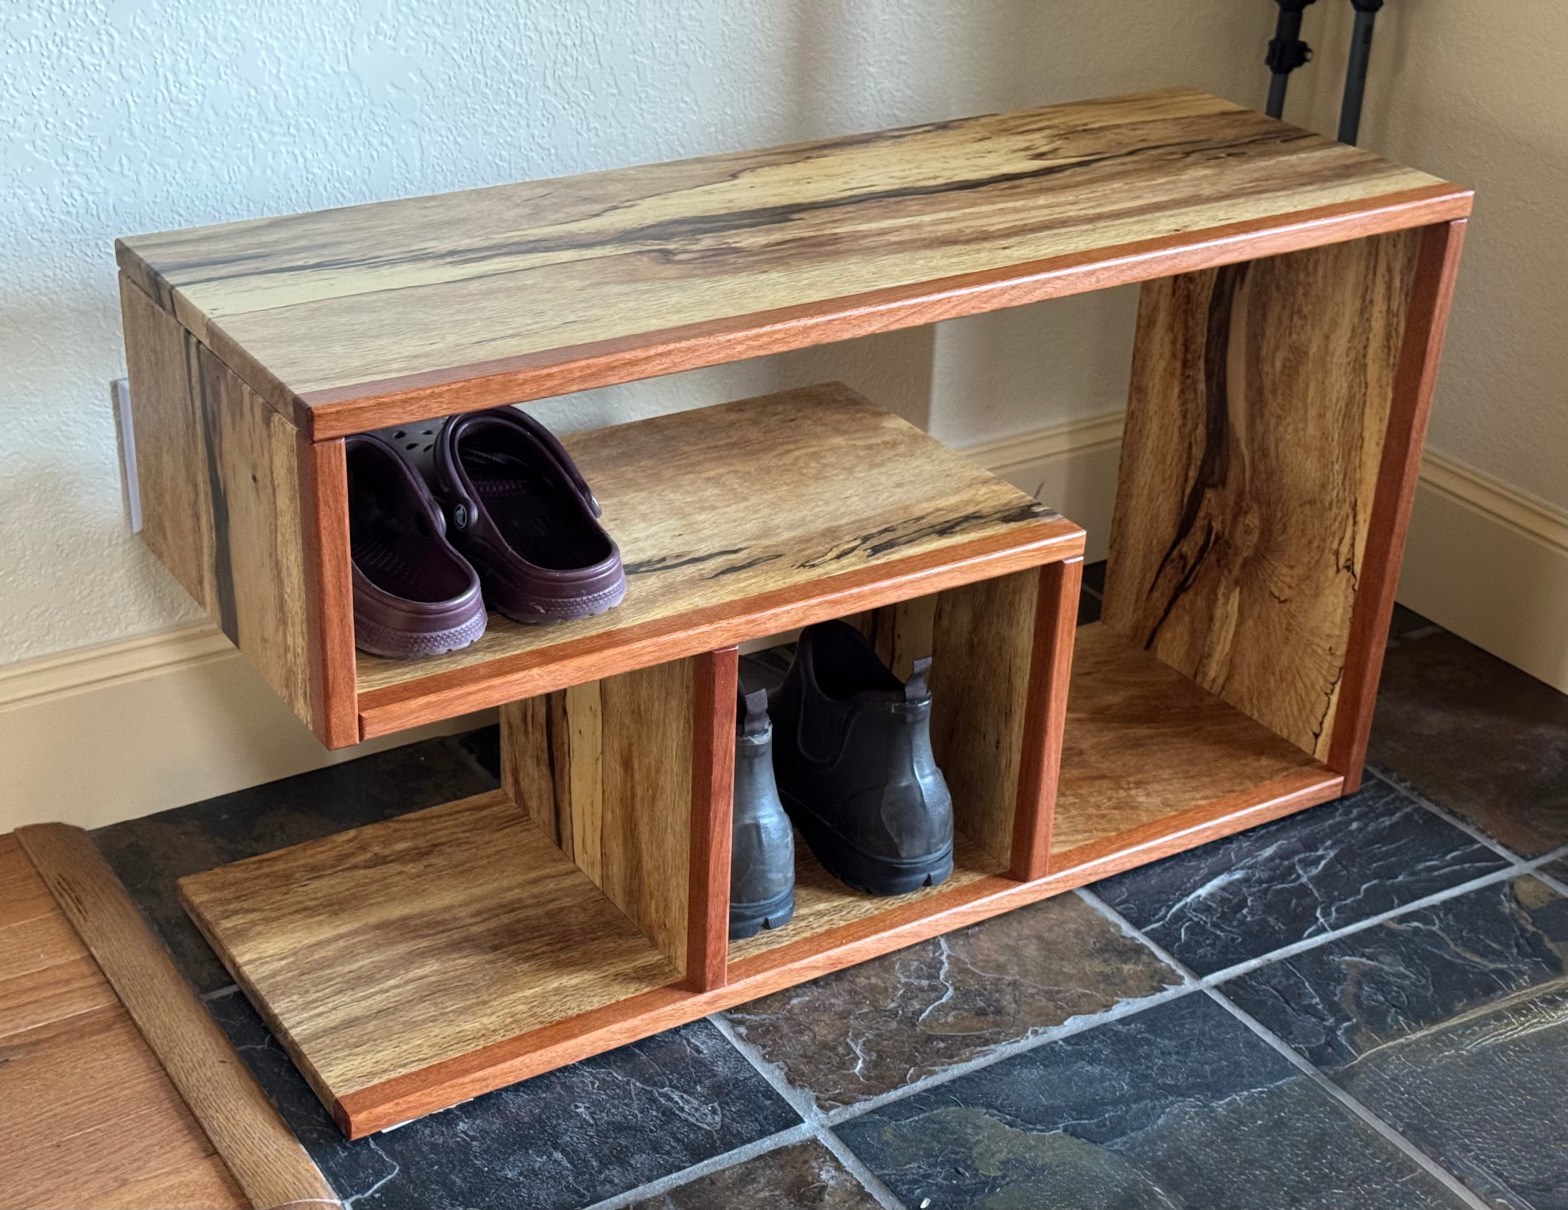
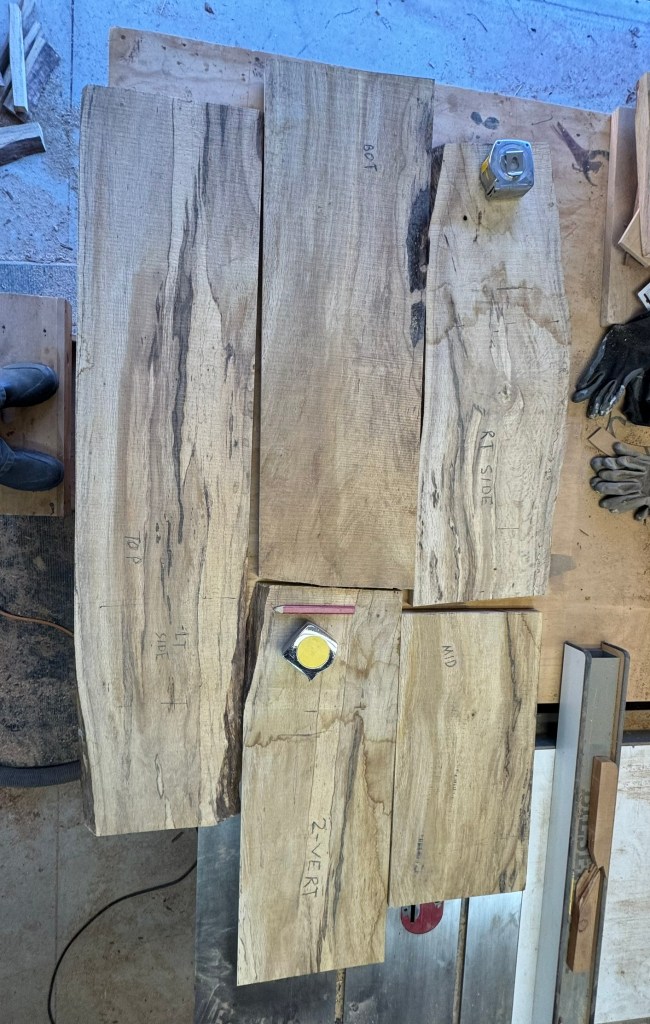
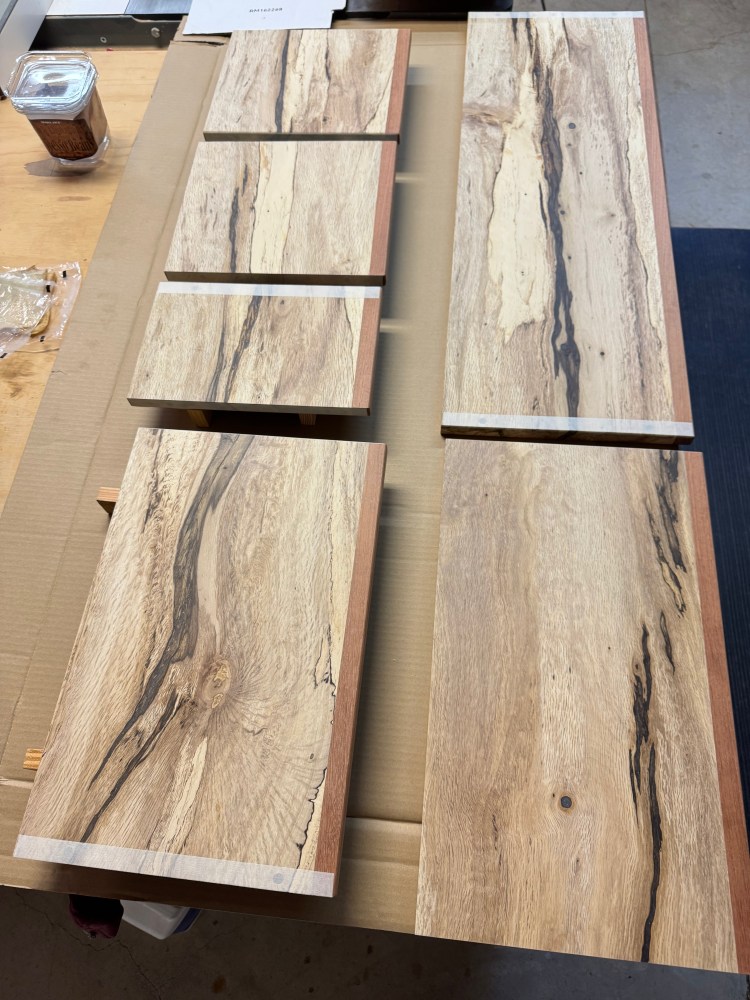
I’d played with some smaller pieces from the outer edges of this log. But when the idea of a shoe bench came up it seemed like a good way to showcase the spalting. As I worked with the wood, choosing pieces for the bench, I thought about how to treat the front board edges, and how to do the joinery. I decided I wanted a strong contrasting edge band, and some remnant teak filled the bill. Okay, how to attach it? I decided to use a poplar spline, no dowels, no biscuits. I had to rip blind slots at the exposed ends to hide the splines and grooves. As I glued the band I wetted a couple areas to see what it would look like with finish. It’s going to be a bold look!
After some delay I got back to the task at hand. The boards were ripped to width and cut to length, routed and sanded. Now to figure out the joinery. I had decided on using only dowels, no screws, which I had originally considered. As the bench is all butt joints this added a challenge for half the holes to be drilled! A dowel jig is perfect for edge drilling, but face drilling required careful layout and marking. Plus, those holes had to be shallow, as the boards are only 3/4″ thick. I decided to use 5/16″ dowels to lessen the stress on a 3/4″ board. I used a long dowel, cut two grooves (for glue) on the table saw, and cut them to length on the bandsaw. The face holes were drilled using a brad point bit, then made 1/64″ larger, again for glue.

At last the bench was ready to be dry-fitted, assembled without glue, to be sure everything worked properly.

I wanted to pre-finish the pieces for a couple reasons. It would be simpler to apply it unassembled. And, any extra glue would clean up easily. But the joining surfaces need to be free of finish for best adhesion. So, I taped all the gluing surfaces prior to finishing. The only concern was avoiding damaging the finish while removing the tape. I ran a utility knife along the tape edges to prevent that possibility. That went perfectly, now all that remained was assembly!

